New Build Lawn Punch List for Osceola County Homes
New construction lawns can look finished on closing day and still have hidden problems. Sod may be fresh, but the soil underneath can be compacted, sprinklers may be misaligned, and grading may send water where it should not go.
Use this punch list before accepting the lawn as “good enough” or before replacing sections on your own.
1. Check Sod Seams
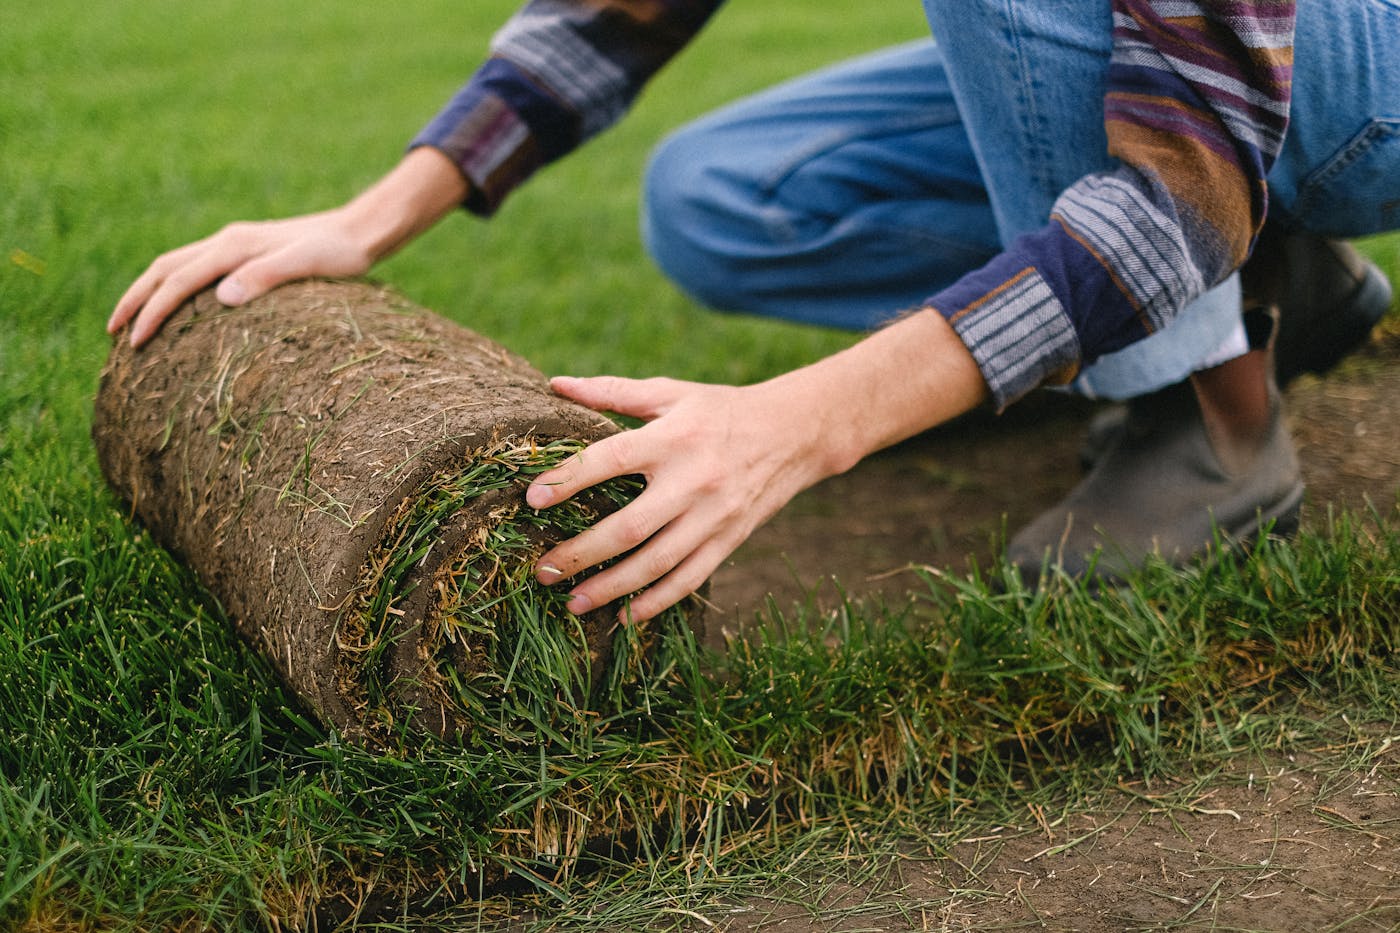
Walk the lawn and look for wide gaps, curled edges, overlapping pieces, or seams that are already turning brown. New sod should sit tight against neighboring pieces with good soil contact.
If seams are browning, use the lawn problem diagnosis tool to decide whether the issue is water, heat, or poor contact.
2. Run Every Sprinkler Zone
Do not assume the controller is set correctly. Run each zone and watch coverage.
Look for:
- Heads blocked by sod
- Spray hitting sidewalks or walls
- Dry corners
- Low pressure
- Water running down the driveway
- One zone weaker than the others
New sod watering only works if coverage is even. If the layout looks questionable, use the sprinkler zone planner.
3. Watch Drainage After Rain
New-build grading can be rough. Tire ruts, settled fill, and rushed final grading may create low spots. After a heavy rain, check whether water stands near the house, patio, sidewalk, or side yard.
If water remains the next day, document it with photos. The drainage risk checker can help you summarize the issue.
4. Feel for Soft or Hollow Spots
Soft spots can mean poor soil contact, loose fill, or repeated saturation. Hollow spots can mean sod is bridging over uneven soil.
These areas may brown out or settle later. Mark them early so the issue does not disappear from memory after the first mowing.
5. Check Driveway and Sidewalk Edges
Concrete edges heat up and dry out sod faster. New-build lawns often show stress near driveways, sidewalks, and curbs first.
Edges may need extra attention during the first two weeks. That does not mean flooding the whole zone. It may mean short hand-watering at the hottest edges.
6. Identify Grass Type
Ask what sod variety was installed. Homeowners often inherit a lawn without knowing whether it is St. Augustine, Bahia, Bermuda, Zoysia, or another variety.
Grass type affects mowing height, watering, pest risk, and replacement matching. If you need to compare options for replacement areas, use the grass selector.
7. Save Photos and Dates
Take photos during the first month:
- Closing day
- After the first heavy rain
- After sprinkler test
- Any brown seams
- Any standing water
- Any builder repairs
Photos help prove whether the problem was present early or developed later.
8. Decide Whether to Repair or Replace
Small seam issues may recover with corrected watering. Dead patches, drainage failures, and misgraded areas may need repair before replacement sod makes sense.
If the lawn has broad failure, do not only ask “How much for new sod?” Ask why the first sod failed.
Final Recommendation
A new-build lawn punch list protects you from paying twice. Check seams, sprinklers, grade, drainage, edges, and grass type early. Fix site problems before replacing sod.
Next step: diagnose symptoms with the lawn problem tool, then request sod installation help if replacement sections are needed.